XPort Leaf Kit: Getting Started

 Before you get started assembling your kit, check to make sure that you have everything you need.
System requirements:
- Ethernet connection with Internet service (10BaseT or 100Base-T with DHCP addressing)
- 120V a/c power outlet
- A plant with soil at least 3″ deep
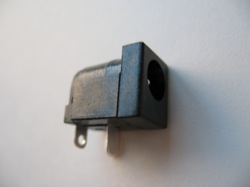
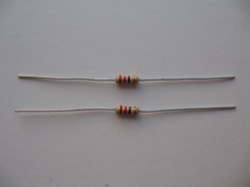
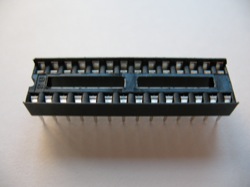
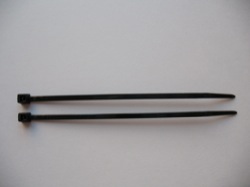
Parts:
The 6V DC power adapter included in the kit is rated for 120V, so it’s only appropriate for use in the US, Canada, or Japan. For all other countries, try something like Adafruit’s multiplug power adapter. Or you can use a transformer.
NOTE: Be sure to hang onto the bag that your parts came in. The label has the username and password that you’ll need to modify your plant’s Twitter profile!
You’ll also need:
Optional:
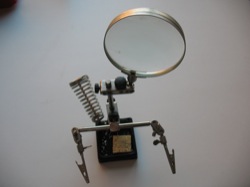
If you’d like, you can use helping hands or a (small work vice like the PanaVise Junior 201). However these are not required – you can assemble the whole kit on a flat work surface.


